Laser Scanner Improves TWI Weld Analysis Services For Members

TWI has acquired a new weld-scanning laser tool which is able to quickly measure the external properties of welds.
The latest addition to TWI’s technology portfolio is a WiKi-SCAN™ weld inspection tool, manufactured by Canadian laser specialists Servo-Robot. The acquisition is already manifesting an improved service to Member companies, and has the potential to reduce the duration and cost of projects requiring the analysis of weld properties.
WiKi-SCAN uses a laser and advanced calibration to take weld root mismatch measurements, along with other important parameters including weld bead width or leg length and weld bead height. The measured weld profile can also be used to measure weld toe angle.
The external properties of a weld can control aspects of the weld’s mechanical properties; the size of a weld affects its load-carrying capacity; and the weld bead profile, weld root mismatch (otherwise known as ‘hi-lo’) and shape of the weld bead at the weld toe can have an influence on fatigue strength.
Taking manual measurements of weld root mismatch can be time consuming, and once the measurement has been taken and recorded, there is no permanent record of what has been measured.
Weld bead toe angle is usually obtained by cutting a slice from the weld, mounting and polishing the slice and then photographing it. This destroys the area of interest, takes time and can add significant cost to projects if multiple measurements are required.
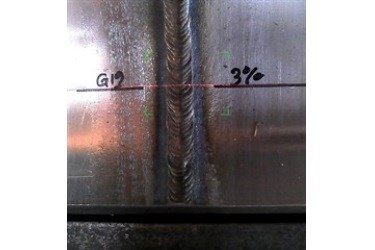
WiKi-SCAN records weld profile information and takes an accompanying photograph of the weld at each measurement position. It can be used to measure weld profiles on many types of weld, including butt, girth and fillet, and measurements can be taken at specific locations or in ‘continuous mode’, which records a profile and photograph at a user-specified intervals along the weld length.
The quick and user-friendly method provides TWI Members with a permanent record of the weld profile and appearance of the weld at the measurement locations.
TWI has carried out trials and found that the measurements are repeatable and correlate with other methods of taking these measurements within acceptable limits.
Source: TWI Ltd
